docker运行
本教程使用rabbit_mongo_influx 方式进行部署
修改docker-compose.yml文件
注意
删除influxdb_cli容器的相关配置,做的是通过此命令行容器,初始化influxdb,但是通过本人测试,在windows和linux中均无法达到此目的,故而删除之
/IoTSharp/Deployments/rabbit_mongo_influx/docker-compose.yml
influxdb_cli:
    links:
        - influx
    image: quay.io/influxdb/influxdb:v2.0.4
    entrypoint: influx setup --bucket iotsharp-bucket -t iotsharp-token -o iotsharp --username=root --password=1-q2-w3-e4-r5-t --host=http://influx:8086 -f
    restart: on-failure:20
    depends_on:
         - influx
启动容器
进入/IoTSharp/Deployments/rabbit_mongo_influx,执行
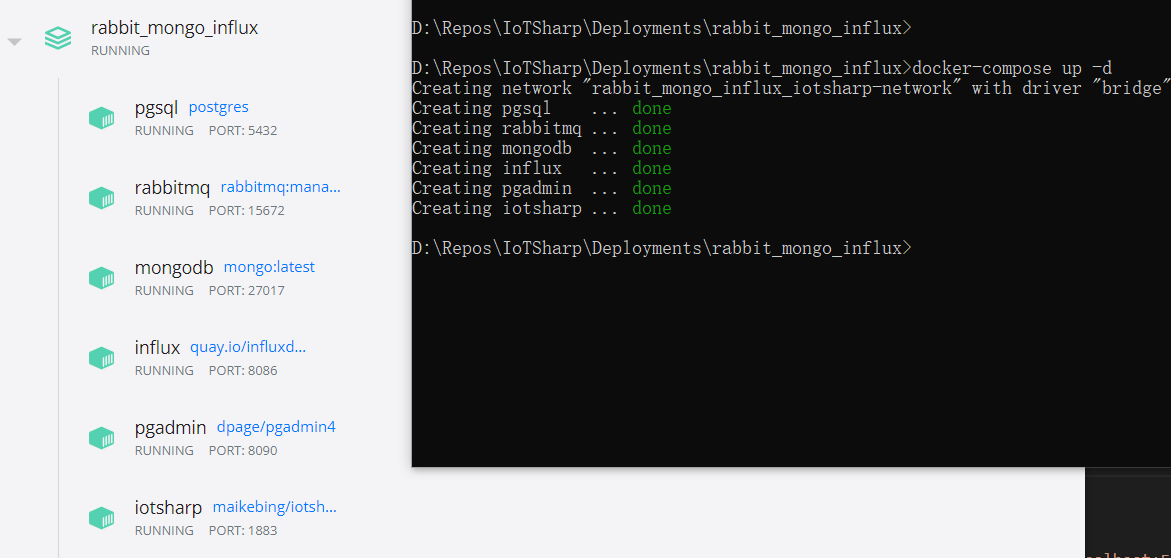
docker-compose up -d
看到下图说明运行成功
初始化influxdb
浏览器访问 http://localhost:8086/,初始化influxdb
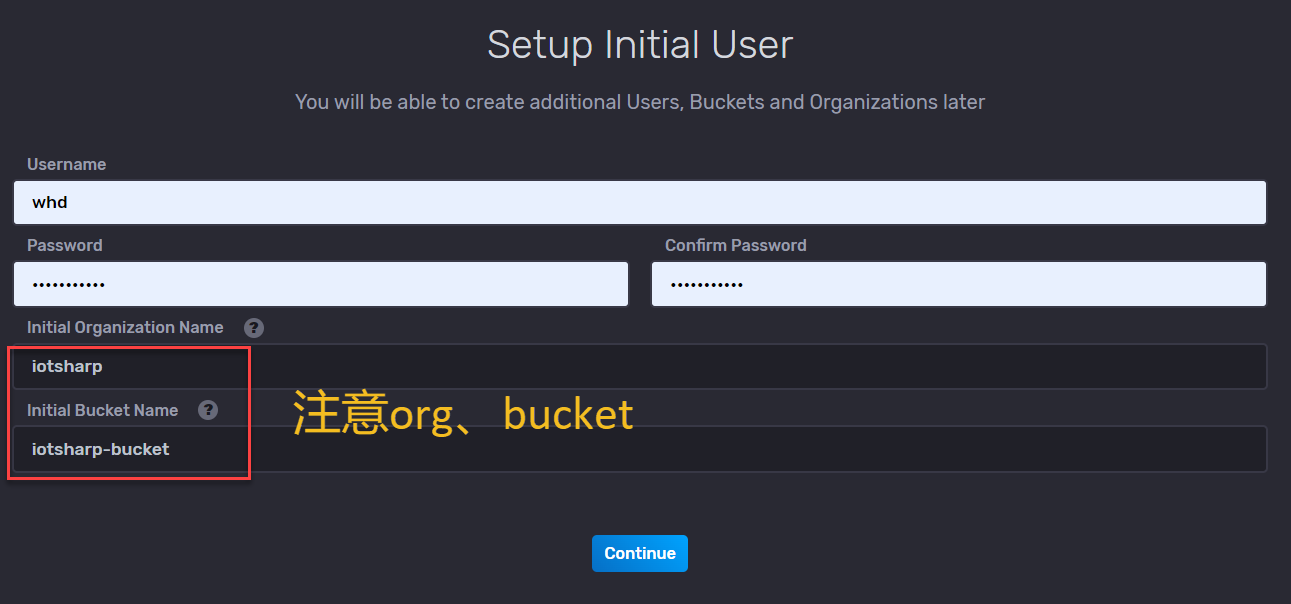
Org: iotsharp Bucket: iotsharp-bucket
然后点Config Later
创建token
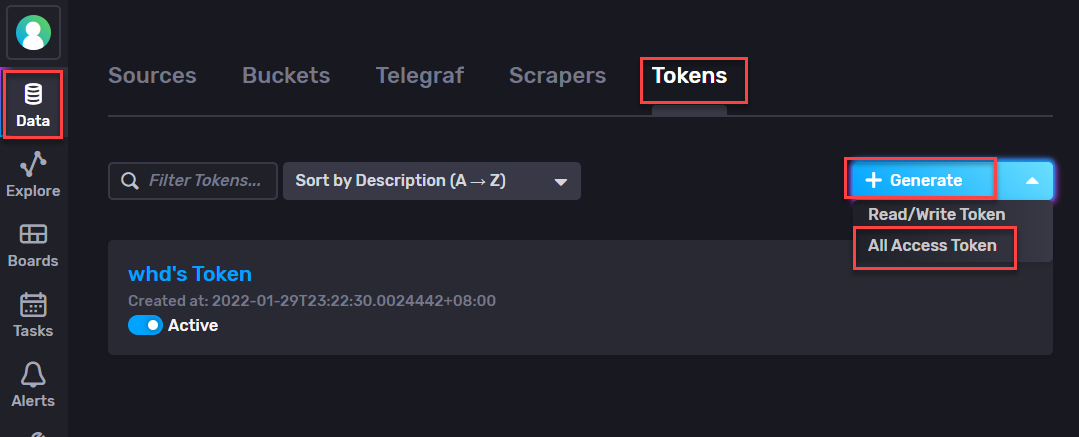
复制token

修改配置文件
/IoTSharp/Deployments/rabbit_mongo_influx/appsettings.Production.json
"TelemetryStorage":"http://influx:8086/?org=iotsharp&bucket=iotsharp-bucket&token=iotsharp-token&&latest=-72h",
将iotsharp-token修改为你的真实token
重启IoTSharp容器
命令行执行
docker restart iotsharp
注册
Chrome浏览器访问 http://localhost:2927/
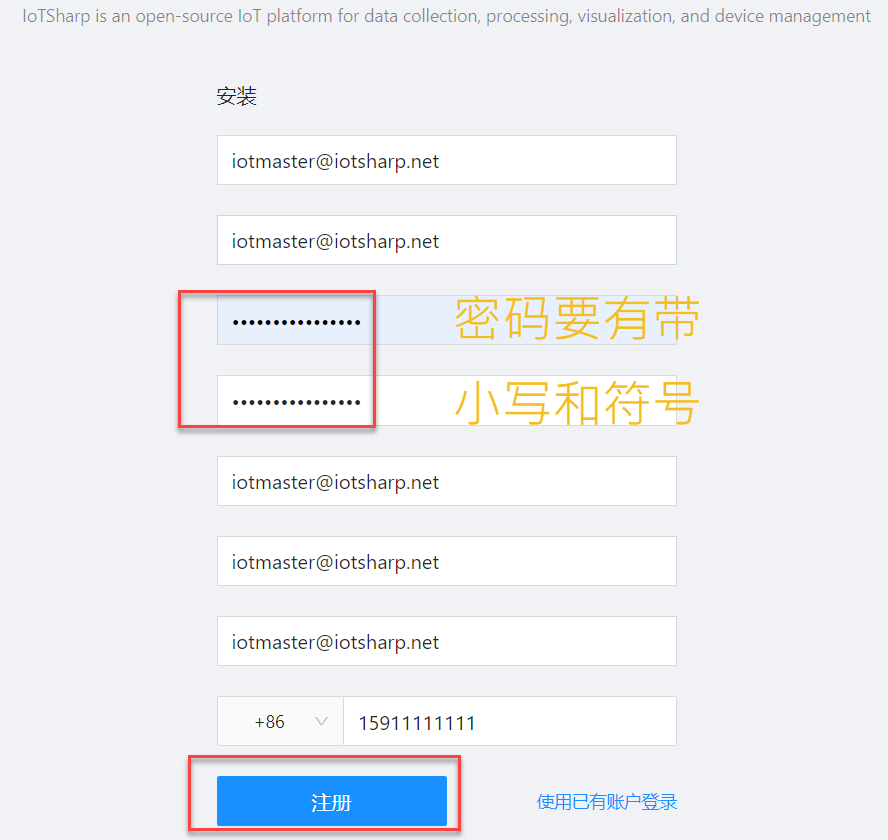
访问
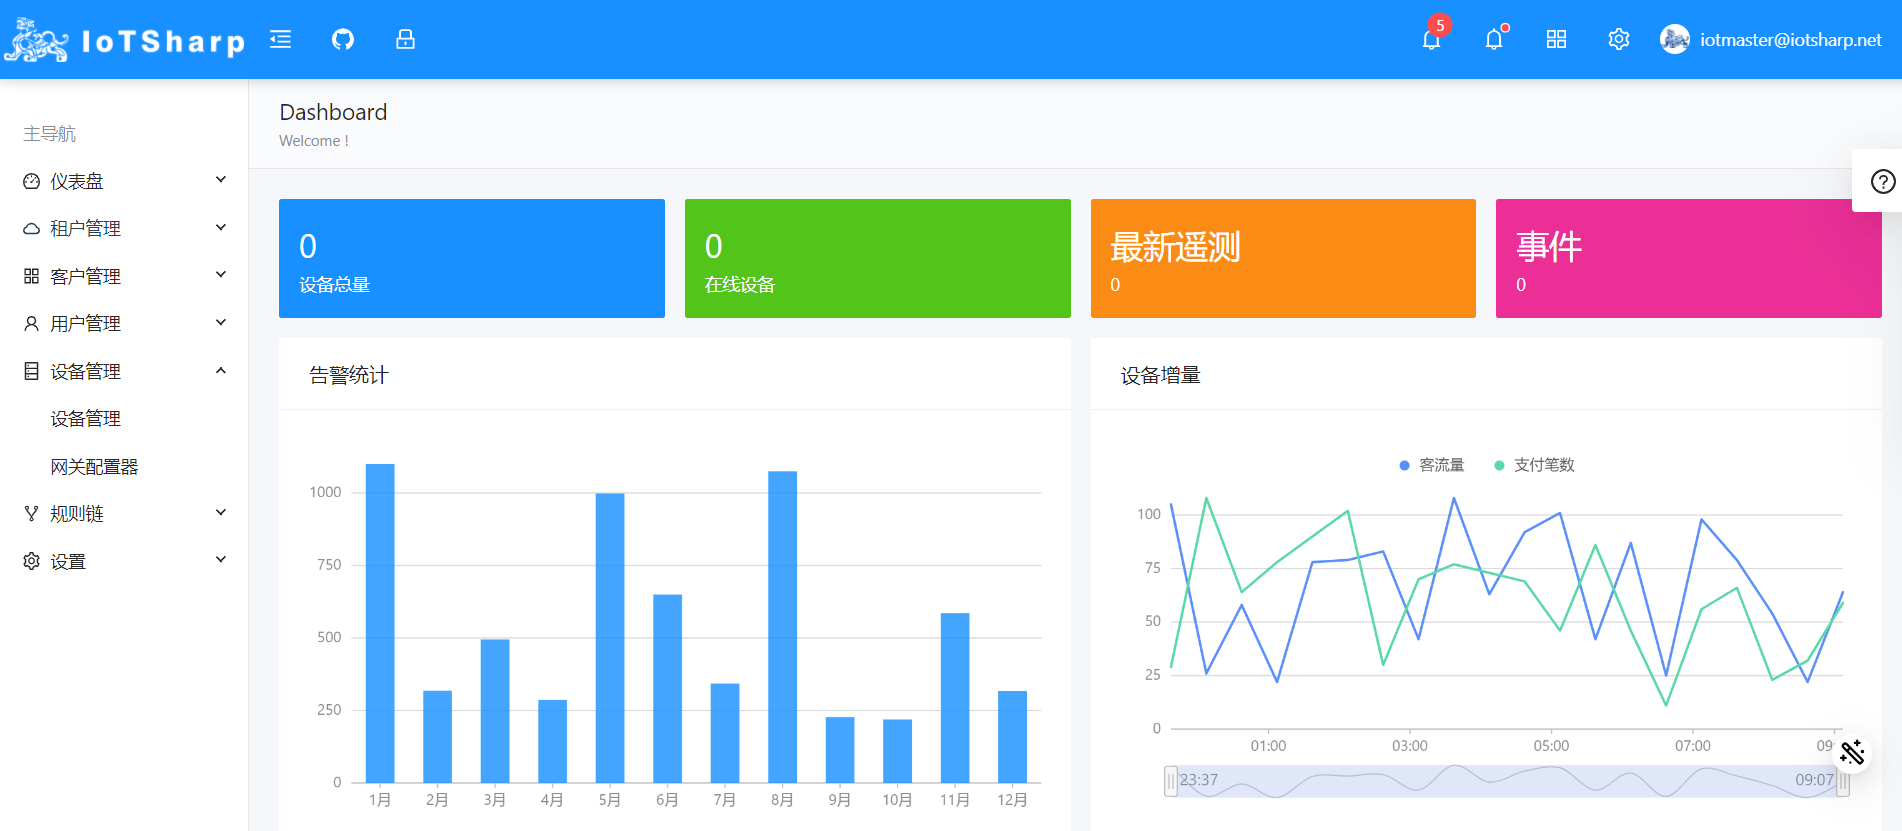
注册后登入进入首页
